Effortlessly Host Your Angular App on Google Firebase
Written on
Creating Your Angular Application
In this guide, I will walk you through the process of hosting your Angular application on Google Firebase. After spending time developing an engaging Angular app that functions smoothly on your local system, you might be eager to showcase it to a global audience. Whether you're enhancing your portfolio for potential employers or planning to monetize your application, Firebase offers a simple and efficient hosting solution. I'll guide you step-by-step, from setting up a basic Angular application to deploying it for public access via Firebase.
Getting Started with Your Angular Project
For this demonstration, we'll utilize Angular 13 on a Windows 10 setup. To initiate a new Angular project, you can run the following command in your command prompt. In our case, we'll name the project angular-firebase-hello-world, but feel free to choose any name you prefer.
ng new angular-firebase-hello-world
Next, navigate to your app.component.html file located in the srcapp directory, and replace all the default content with the following:
<h1>Angular Firebase Hello World</h1>
To verify that this simple application runs correctly, execute the command:
ng serve
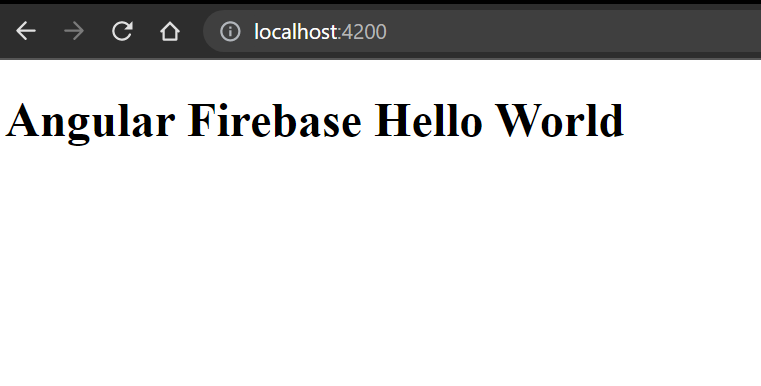
Once the application compiles without errors, you can open a web browser and visit the URL http://localhost:4200. You should see a page resembling the one shown below:
Building Your Angular Project
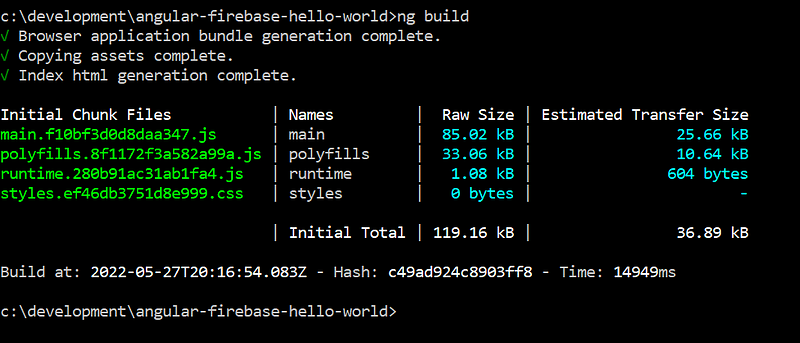
Now that you have a basic application ready, the next step is to build it for deployment. In your command prompt, execute:
ng build
Upon successful completion, your command prompt will display a message confirming that the build was successful.
Creating a Firebase Project

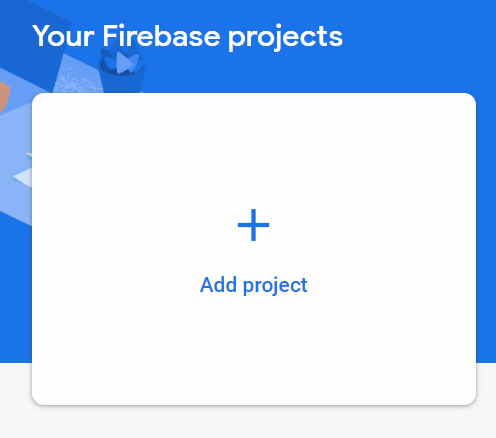
Afterward, select the "Add Project" option.
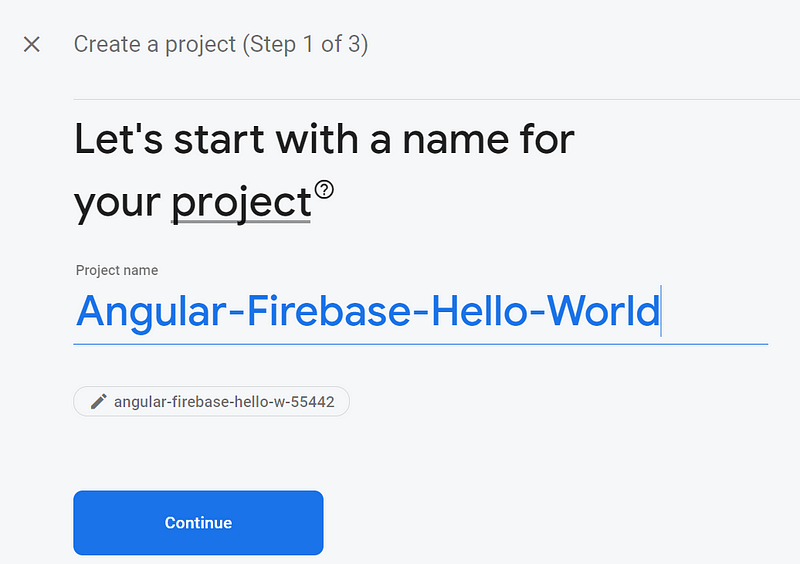
You will then be directed to a setup wizard where you need to enter your Project Name. For our example, we will use "Angular-Firebase-Hello-World".
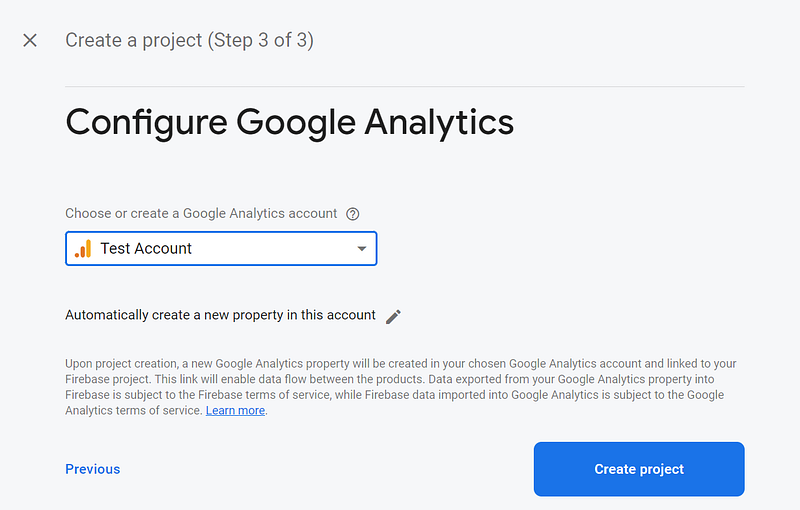
The next screen will prompt you to enable Google Analytics for your project. The default option is "Yes," so you can proceed by clicking the Continue button. On the final setup page, choose to use an existing Google Analytics account or create a new one, and then click the Create Project button to complete the setup.
Installing Firebase Tools Locally and Logging In
After your Firebase project is created, return to your command prompt to install Firebase tools using the following command:
npm install -g firebase-tools
Next, log in to Firebase CLI with:
firebase login
You will be prompted to choose a Google account for authentication. Once logged in successfully, you should see a confirmation message in your command line.
Initializing Your Firebase Project
With successful authentication, it's time to initialize your project as a Firebase project. In your project directory, type the command:
firebase init
Follow the prompts in the setup wizard. When asked if you are ready to proceed, respond with "Yes" or "Y". Then select the hosting feature by pressing the spacebar and hitting Enter.
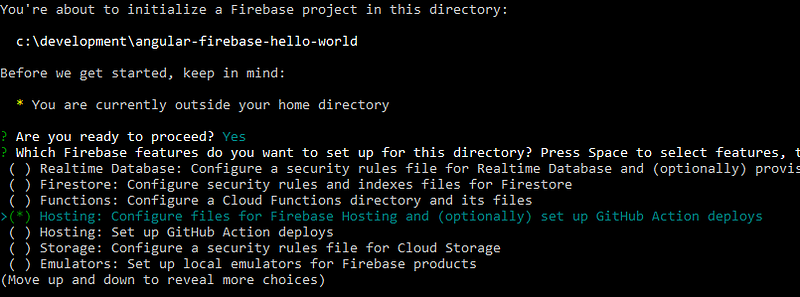
You will then associate your project directory with the Firebase project you created earlier. Choose "Use an existing project" and select your project, "Angular-Firebase-Hello-World."

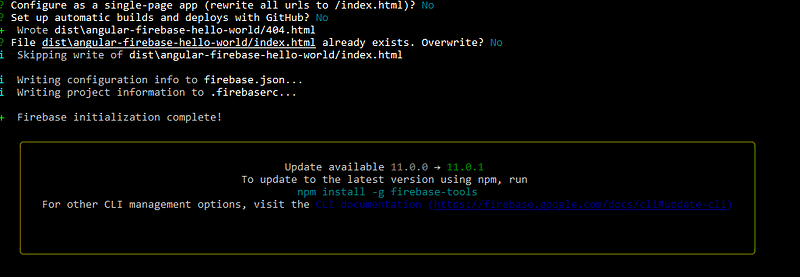
Specify the public directory as distangular-firebase-hello-world. For the prompt about configuring as a single-page app, select "No". Similarly, respond "No" to the prompts regarding automatic builds with GitHub and overwriting existing files.

Completing the Firebase Initialization
After completing all prompts, you will see a message indicating that Firebase initialization is complete.
Deploying Your Application to Firebase
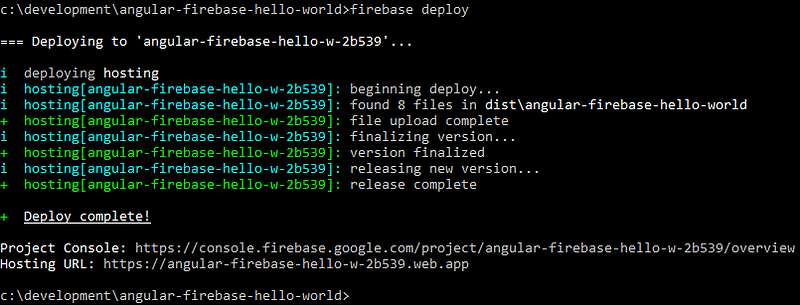
The final step is to deploy your application. Type the following command in your command prompt:
firebase deploy
Accessing Your Application
Now, open your web browser and navigate to the provided URL to see your application live on Firebase.

Conclusion
Thank you for reading this guide! I hope you found it helpful. If you have any questions or feedback, feel free to reach out. If you enjoyed this article, consider signing up for Medium through my referral link for unlimited access to my articles and thousands of others from talented writers.
This first video provides a detailed step-by-step guide on deploying an Angular app to Firebase.
The second video offers a comprehensive tutorial on deploying your Angular application using Firebase Hosting.